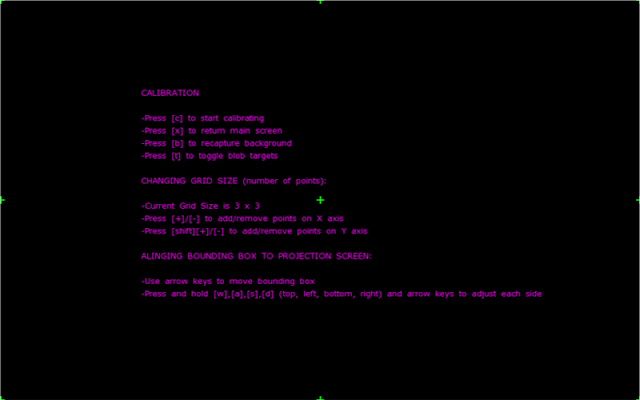


In order to calibrate the touchlib library for your camera and projector, you'll need to run the config app, Here's how it works:
- You'll need to set up your computer so that the main monitor is the video projector so that the app comes up on that screen.
- Run the config app.
- Press 'b' at any time to recapture the background.
- Tweak the sliders until you get the desired results.
- The last step (rectify) should just have light coming from your finger tips (no background noise, etc).
- When you are satisfied press 'enter'. This will launch the app in full screen mode and you'll see a grid of points (green pluses).
- Now you can press 'c' to start calibrating.
- The current point should turn red. Press on your FTIR screen where the point is.
- Hopefully a press is detected (you can check by looking in the debug window).
- Press 'space' to calibrate the next point. You'll continue through until all points are calibrated.
- Note that the screen may not indicate where you are pressing.
- When you are all done, you can press 'ESC' to quit.
- All your changes (slider tweaks and calibration points) are saved to the config.xml file. Now when you run any touchlib app it will be calibrated.
- Note that any changes to where the projector is pointing or your webcam will require a re-calibration.
More info on Touchlib
Calibration Screens


0 comments:
Post a Comment